 I realized it had been quite some time since I posted a software review. In fact, over the past year, I’ve been rather lax in posting on my blog, period! It’s because I’ve been working on a big new project that’s consumed much of my time: creating a family portrait photography course plus a series of free videos with Lightroom tutorials.
Readers of my newsletter will know that Lightroom is my photo software of choice, but over the years I’ve also used and liked Corel’s Paint Shop Pro because of its Photoshop-like tools, shorter (much shorter!) learning curve, and lower price tag (just $79.99).
Pixel-based vs Catalog-based Software…huh?
Paintshop Pro (and Photoshop and PS Elements) are quite different “animals” from Lightroom. The important thing to know is that they don’t cancel each other out. That’s because Paintshop Pro is pixel-based software that allows you to edit down to the pixel level and you use layers. Editing is destructive, meaning edits you make actually change the pixels. You can also use it to create complex designs, image composites, graphics, and more. On the other hand, Lightroom is catalog based; any adjustments you make to an image are written to a text file in the Lightroom catalog, which is a database (see this video for more about the catalog). Your original image is never touched and you can undo every edit you ever made at any time.
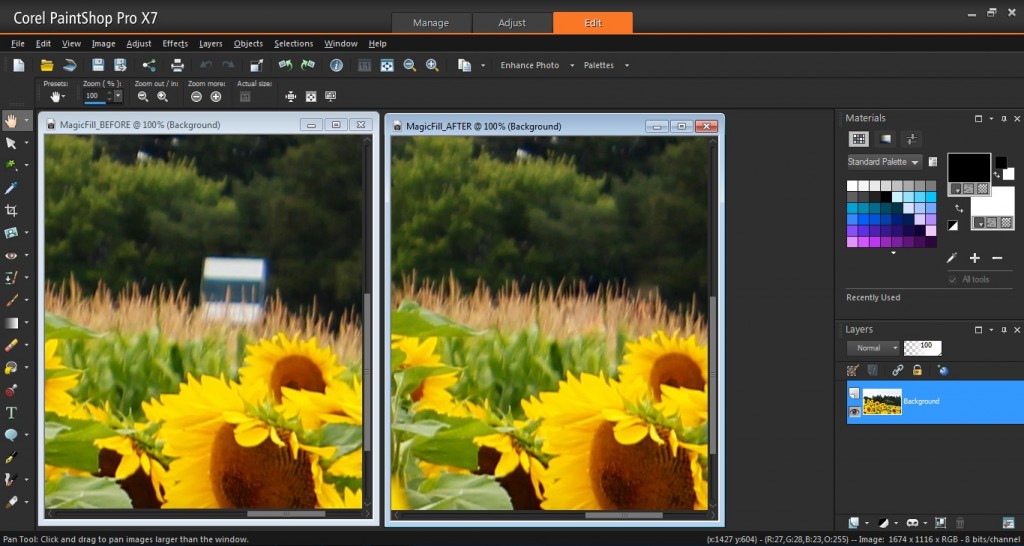
Both types of software have their strengths. Many photographers find they can do most of their editing in Lightroom, but for really tough things like removing a large unwanted object like that person who ran into your otherwise perfectly composed shot, it’s easier, and results are usually better, to do it in pixel-based software. Paintshop Pro has a new content-aware fill tool called Magic Fill that does a really good job with this. The nice thing is that from within Lightroom, you can open a copy of your image and edit it in Paintshop then move it back into Lightroom.
Back to the Review
Okay, so getting back to my Paintshop Pro review. Kind of got side-tracked, didn’t I? The new version is X7, which was released in October 2014. You get a revamped user interface and new tools such as the aforementioned Magic Fill for removing unwanted objects, similar to the very popular Content-Aware Fill in Photoshop, and improved brush speed performance.
You also get:
- New text and shape-cutting tools that let you clip background images and create text shapes and patterns.
- Faster brushes, and color materials palette for finding colors, textures, or patterns.
- An image dialog box that quickly lets you choose from common photo sizes for printing, web, and graphics.
- Quick Preview for Instant Effects so you can see effects before you apply the changes to your image.
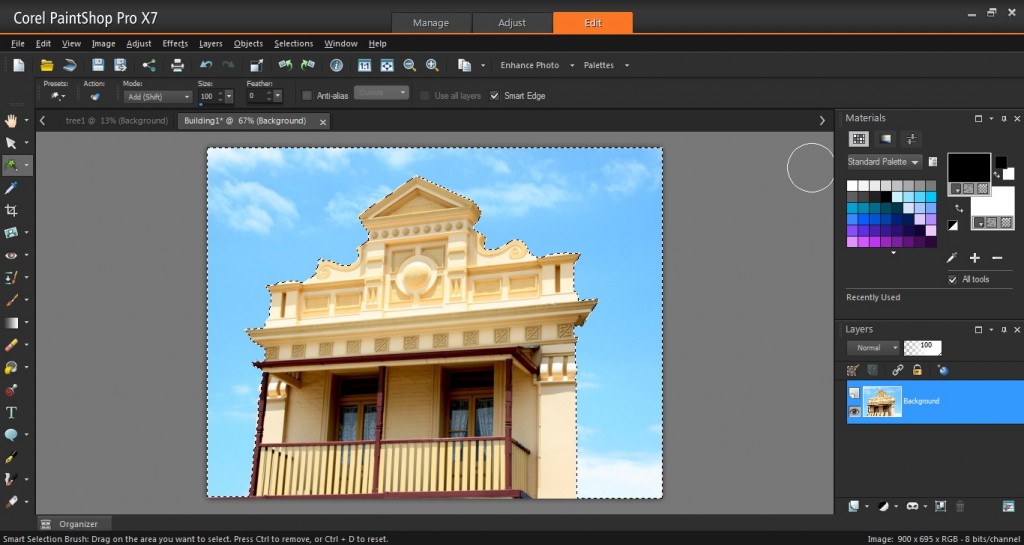
- Smart Edge content-aware feature that helps you keep your brush strokes “inside the lines.” I really like this feature.

Eight tools have also been overhauled including Smart Photo Fix, Graduated filters, Selective Focus, Vignette, Depth of Field, Retro Labs, and others. The app gives you more control over layers by letting you drag a layer from one image to another and drop it between or above a specific layer in the layers palette.
If you move up to Paintshop Pro x7 Ultimate ($99.99) you also get one-click image correction using Perfectly Clear by Athentech, Reallusion Facefilter3 portrait retouching tools, and a creative collection with brushes, textures, and backgrounds. I’ve used the $200 Perfectly Clear Photoshop plugin and it works very well. It’s a real bonus to get it built into Ultimate and definitely work the extra 20 bucks versus the standard Paintshop Pro X7.
You can get a free 30-day trial from Corel here for both versions.
There are three sections in the program: Manage, Adjust, and Edit which is tabbed at the top. In Manage you can tag with keywords, dates, and ratings. There is also face tagging. You can choose some photos and hit Find People and the software will scan images for faces and then show you groups of found faces.

The Adjust section is where you make basic changes such as contrast, exposure, curves, and white balance adjustments. There’s a one-click Smart Photo Fix button as well as pre-set artistic effects. You also get presets for landscape, portrait, and noise removal, among others. There are tons of effects you can apply, from skin smoothing to depth of field and graduated filters. Under the Edit tab, you can do creative things like make a text cut-out, which is something scrapbookers will particularly appreciate.

You can also create raster and vector graphics and Paintshop has extensive vector editing tools. A faux HDR effect can be created using one raw file, but the effect is so-so.
One of the complaints about Paintshop Pro is that some features can be slow to apply. This has improved in the latest release. Brushes have been speeded up (some 30% according to Corel) but some features like chromatic aberration correction can still be slow.
Sharing and Exporting
Images can be exported via the File menu in the Edit mode and you can optimize JPG, PNG, and GIFs for the web. The software also offers CMYK separations, something not often found at this price level. There is also soft proofing. You can upload directly to Flickr and Facebook, but you’re forced to either choose or create an album.
Newbies will like Corel’s built-in Learning Center and video tutorials and there’s also an extremely comprehensive online learning guide (some 857 pages!).
Should You Buy or Upgrade
With Paintshop Pro X7 you get image composition and graphic design, essential tools such as drawing, painting, and layers, plus photo management capabilities. The software offers both photo editing and digital design plus 64-bit architecture at a very reasonable price. All in all, it’s a solid program with robust features, straightforward, and easy to use. If you have an older version I would definitely say you should upgrade. If you have X6, you may not find the need. You can get Paintshop Pro X7 from Corel.
So what do you think? Have you tried Paintshop Pro or Lightroom? Which do you prefer? Tell me now in the comments.
One more thing: end your frustration with your photos not coming out the way you wanted. Download my free Digital Photography Basics ebook here. With lots of photo examples included it explains, in plain English, how to avoid blurry photos, shadowed faces, and how to use your manual settings for better control, and more.


