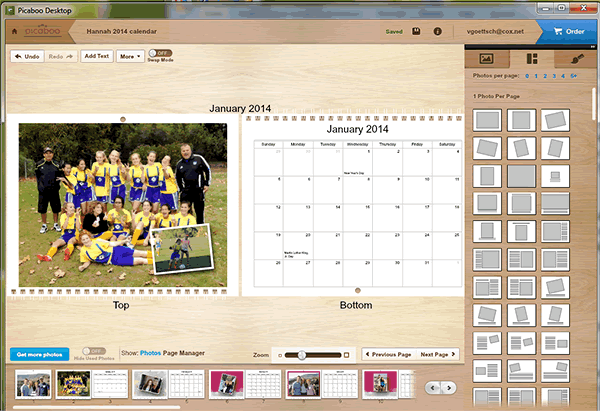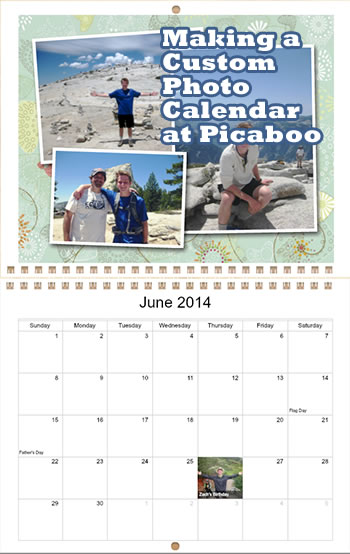
If you’ve read some of my other calendar posts you know how much I love making photo calendars for Christmas gifts. In fact, I’ve over the past week I started gathering photos from my family members (a free Dropbox account is great for sharing photos) in preparation for making this year’s calendars. I make about a dozen of them and make two basic versions for each side of the family, duplicate them, and then customize them a bit for the individual and voila, I’m done. In past years I’ve used Shutterfly and have been very happy with them, but this year I decided to try Picaboo because I like their customized photo books and want to give their calendars a try. So, here is my hands-on review of Picaboo’s photo calendars.
I like Picaboo because, either using their online software or their free downloadable editor, you can customize the layout, add/move/layer photos and text anywhere, add images and text to the calendar dates to note birthdays, anniversaries, etc., and start your calendar on any date. Plus, they now offer free shipping on all their products.
Calendar Themes and Backgrounds
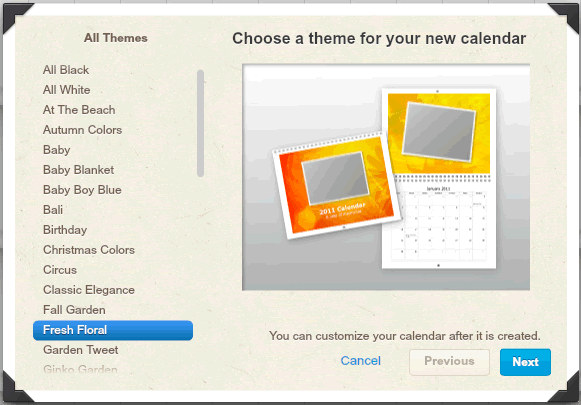
There are hundreds of themes ranging from babies and weddings to travel, vintage, holidays, kids, seasons, sports, and colors. I wish there was an easy way to give you an overview of what some of the themes look like, but there are literally thousands of choices.
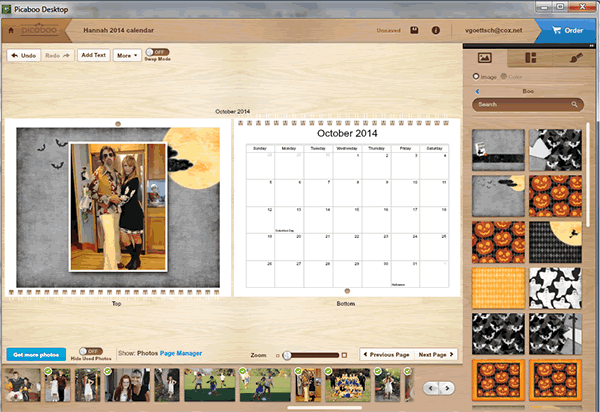
Within the overall themes are tens of thousands of backgrounds and you are not stuck only using backgrounds from one theme. Once you’ve chosen your general style, you can incorporate backgrounds from other themes to make it really custom. For example, if for October you wanted a Halloween theme, you can choose a Halloween background for just that one month. You can also drag and drop any of your own images to use as the page background in your calendar.
Tip: if you are making more than one calendar, simply copy it under your Projects library, give it a new name, and make any changes you want. Now you have a second custom gift in a few minutes.
Adding Birthdays and Special Occasions
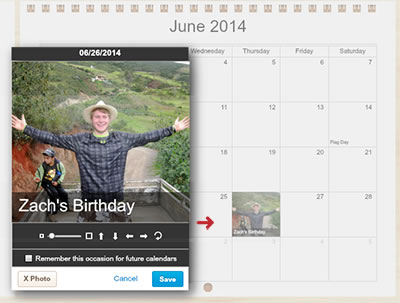 You can do this two ways: When you first start a new calendar, there is a “select options” window where you can add dates and descriptions. Or, you can add them as you go by dragging an image to that date. Then click the date box and add your text. One nice thing is that you can add as much text as you want. For instance, if you have three birthdays on one day, you can add all three.
A Couple of Important Things to Know
Plan in advance on which month you want certain photos. First organize all the images you want to use in your calendar and put them in chronological order in a new folder, then upload them to Picaboo. After you have placed them, while you can change or rearrange the photos on an individual page, you can’t rearrange the page order, i.e. move the photos that appear in January and put them with March. You would have to replace the photos on the page you want them to appear.
Secondly, all pages will have a white border around them, the backgrounds do not bleed to the edge. Not a big deal, but it’s something you might want to know in case you had your heart set on full-bleed pages.
Calendar Sizes
Picaboo offers two sizes:
Classic – 11×9 printed on 80lb matte photo and date pages for $24.99
Premium – 14×11 printed on 80lb laminated, glossy photo pages and 80lb matte date pages for easy non-smear writing for $34.99.
Save Money on Your Calendar Order
Right now there is a Buy 1 Get 1 Free deal at Picaboo, but it ends Nov 18. They do offer pretty frequent promos. Keep an eye on my deals page, where I list new photo sales and coupon codes.
Tutorial
Here’s a tutorial from Picaboo that walks you through the steps of creating a photo calendar. All in all, pretty easy.
Related Posts

