Unfortunately, one thing you can’t correct in Lightroom or Photoshop is a blurry photo. If you don’t start out with a tack-sharp image you won’t be able to create fine detail when it just isn’t there. One big cause of blurry photos, especially indoors where the light may not be as good, is not using a fast enough shutter speed.
How Wide is Your Aperture
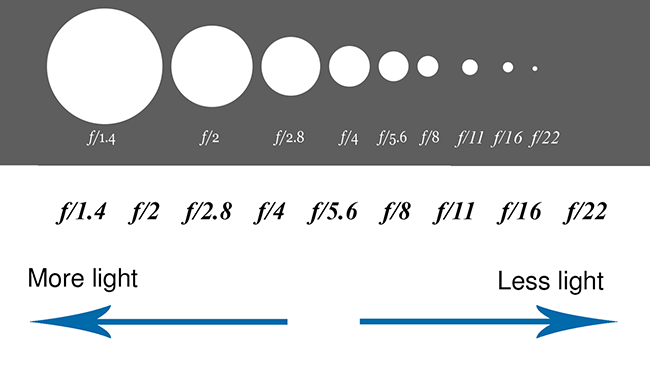
Remember that a low f/number or f-stop means a wider aperture — a bigger opening — so more light is coming into the camera’s sensor. When you’re shooting in Aperture Priority, which is what I recommend for most situations, you are setting the aperture and the camera is choosing the shutter speed based on the available light and your ISO setting. When the aperture is wide and more light is coming in, the camera will make your shutter speed faster. If you have a really small aperture opening – if your aperture is set to a big number like f/11 or 16, then less light is getting in to the sensor. So your shutter speed has to slow down to let in more light.
Check Your Shutter Speed
When you’re shooting handheld it’s really hard to get a sharp photo with a slow shutter speed, under around 1/125 or 1/100 of a second. And if you’ve had too many cups of coffee, or you’re trying to photograph a fast-moving child, forget about it! Your photos are going to be blurry.
Add More Light
If you’re shooting indoors, the first thing you want to do is get as much light into the room as possible by opening all the window coverings and turning on the lights. Maybe you could even bring in additional lights or lamps from another room. Every speck of extra light you can get will help your camera choose a faster shutter speed.
Increase Your ISO
Okay, so you have as much light as possible in the room and you have opened up the Aperture as far as your lens will allow, but the shutter speed is still too low. So what next? Increase your ISO. The higher the ISO the more light-sensitive your camera becomes. Bump up the ISO and check your shutter speed. If it’s still too low, bump it up another notch. Just be aware that if you increase the ISO too far then you will likely have some noise or graininess in your shot, and with different cameras, it may be more evident than with others. So it can be a trade-off. But I say better a little grain than a blurry, unusable picture.
Try a Faster Lens
Another way to avoid blurry photos is to shoot with a faster lens. Fast means it can take photos with a faster shutter speed in lower light. This is because a faster lens lets you shoot at wider apertures and that means you have more light coming into the sensor. Let’s look at an example.
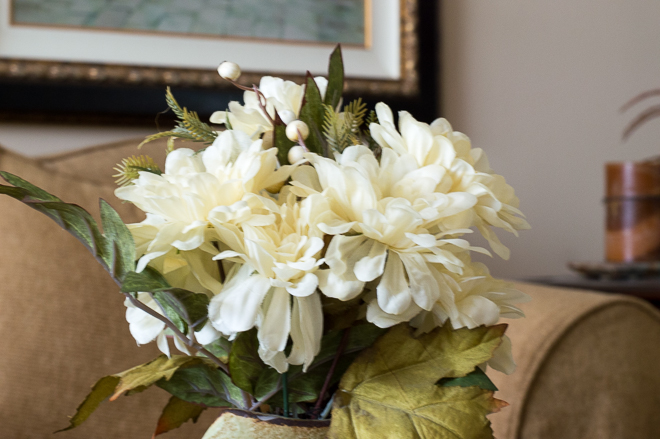
I shot this image below with my “Nifty Fifty” 50mm prime lens set at f/1.8 ISO 400. The shutter speed was 1/320. And the flowers look sharp. You’ll note with the wider aperture the depth of field is pretty shallow. ( If I want a wider depth of field I will need to choose a smaller aperture—bigger f-number—and increase the ISO quite a bit.)
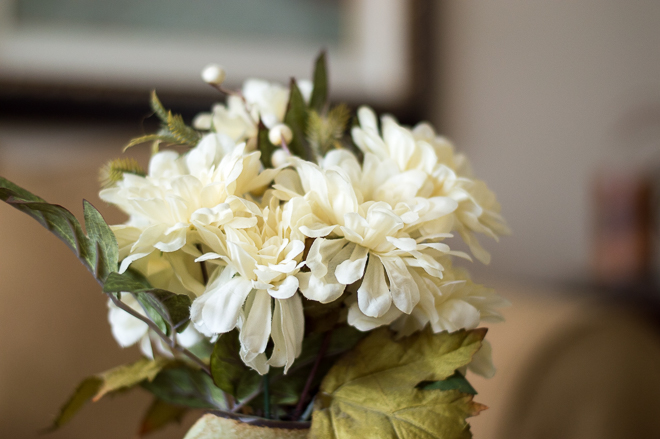
Now with this image below, I used an 18-50mm kit lens. At 50mm the widest aperture I can get is only f/5.6. So less light can come into the lens and the camera had to choose a slower shutter speed, only 1/30 sec and it was harder for me to get a really sharp photo. You can see this photo isn’t as sharp as the first one. You’ll also note the depth of field increased.
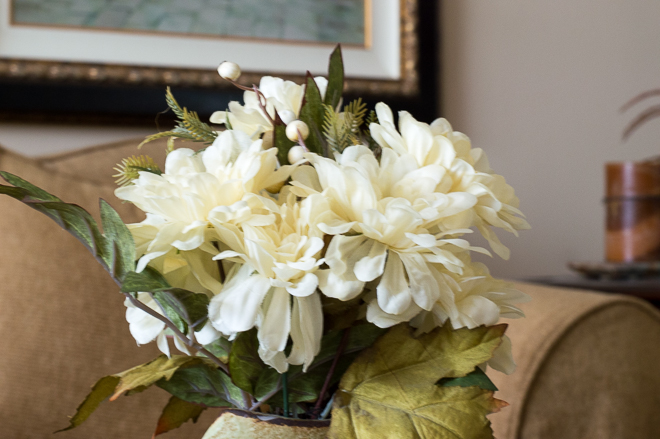
I shot this next image at f/11, still at 50mm. Now even less light is coming into the sensor, so to compensate, the shutter speed was even slower, only 1/15 of a second. I even increased the ISO to 800. You can see the flowers are still blurry. I could try bumping up the ISO to 1600 and that would help, though maybe still not enough, and there may be some noise. It’s very hard to get a sharp photo at such a slow shutter speed unless you use a tripod.
So you can see the difference the maximum aperture can make. Keep that in mind, while your kit lens is good for learning, it does limit you in low light, especially indoors. If you can afford it, consider getting a prime lens such as a 50mm f/1.8 lens. It costs around $200. Having a faster lens with the ability to use a wider aperture will help you in low light.
Beginning Photography Course
Want to learn more about photography? I have a beginner’s course on portraits that covers cameras and lenses, manual settings, natural light, posing and more. This post is an excerpt from my course. You can get more info here and get a discount code to take the whole 3-hour course for only $10.

